Featured Image: @makeupbyyllke
Ever wanted to learn how to create the perfect cut crease without looking like you are from 2016?
Welcome, beauty enthusiasts, to the only article you need to master the world of cut crease eyeshadow!
We have crafted the ultimate guide to help you achieve that flawless cut, whether you’re a pro or a beginner, we have something here for you. Let’s dive into the history, variations, and techniques that make this iconic look so worth trying.
Key Takeaways
-
Discover the evolution of cut crease eyeshadow and learn how to craft a stunning look with an easy-to-follow tutorial!
-
Get ready for prime time with eye primer or concealer/foundation, then create contrast using the perfect trio of tones.
-
Follow do’s & don’ts and discover pro tips & tricks to wow yourself and others.
The Evolution of the Cut Crease

The enchanting cut crease trend traces its origins back to the swinging 1960s, when dramatic eye makeup and bold contrasts were all the rage.
This technique, which involves carving into the lid and defining the crease, quickly caught the attention of celebrity makeup artists and makeup enthusiasts alike. From the 50s Marilyn Monroe-style matte and blended look, to the 70s Diana Ross disco cut crease with color and shine, the cut crease eyeshadow look has evolved over the years, with each era putting its unique spin on it.
The cut crease technique has become a go-to for creating dramatic eye makeup that makes eyes look bigger and more defined.
In addition to widening the eyes, the cut crease adds an extra special “picture” to your eyelid crease, making it a staple in many makeup artists’ arsenals. Think of the Twiggy eye from the 60s, with its strong contrast between black and white, creating a bold graphic effect. It’s no wonder that cut crease eyeshadow tutorials have become increasingly popular on platforms like YouTube and TikTok with beauty gurus sharing their tips and tricks for achieving this iconic look.
Given its rich history and a broad variety of styles, the cut crease eyeshadow trend remains a captivating aspect of the beauty world. Whether you prefer a soft, matte finish or a vibrant burst of color, there’s a cut crease look to suit every eye shape and aesthetic!
Today’s Cut Crease Options

The cut crease eyeshadow look has transformed into an adaptable technique in today’s beauty landscape, able to be tailored to different eye shapes and occasions:
-
One of its most popular adaptations is the use of the cut crease technique for hooded eyes. By defining the crease and making the eyelid appear larger, the cut crease look becomes especially flattering for those with hooded eyes.
-
From the half cut crease, which involves cutting the crease on the inner half of the eye only, to the reverse cut crease, which inverts the traditional cut crease by applying eyeshadow to the brow bone, the possibilities are endless!
-
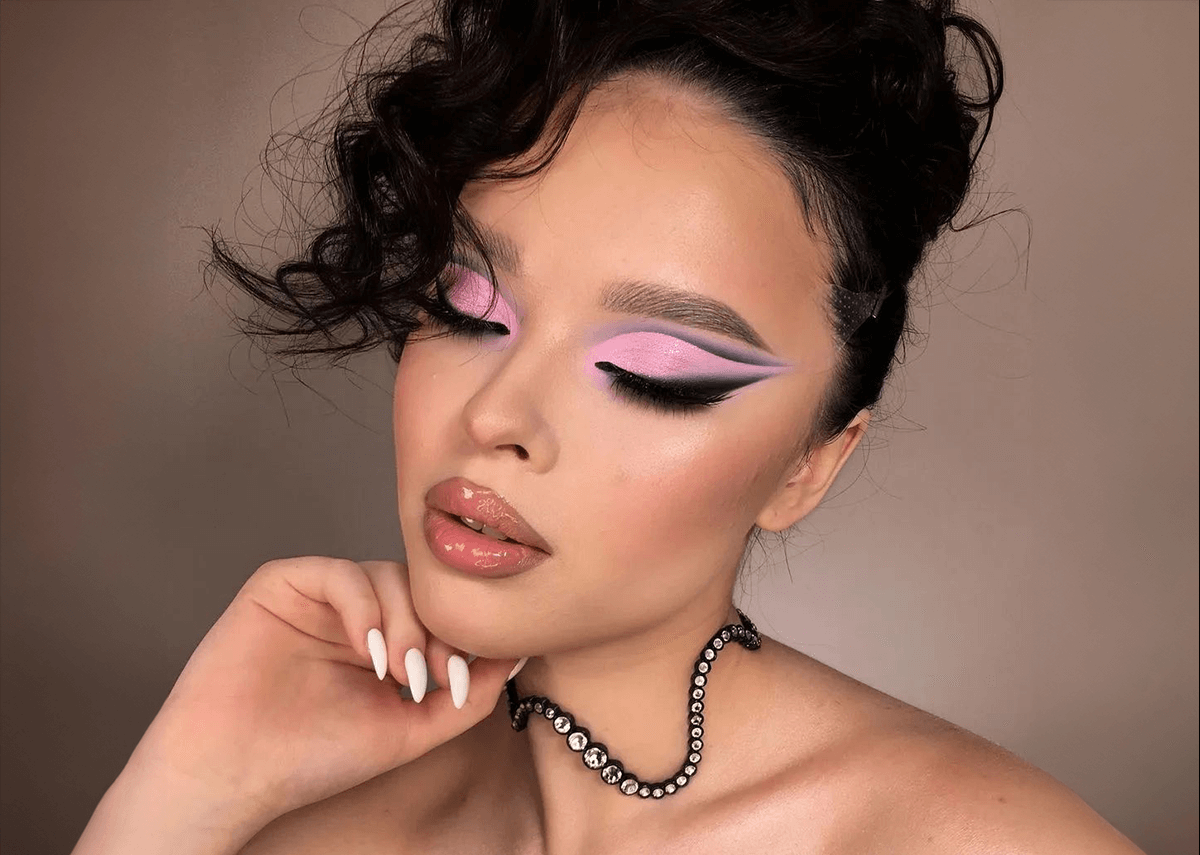
You can even experiment with color by incorporating bright shades like hot pink, which features a dazzling pink and white ombré with glitter. To enhance the overall drama of your cut crease, pair it with cat eyeliner or false eyelashes for a stunning, mod ‘60s vibe.
The appeal of the cut crease eyeshadow look is its versatility and customizability to accommodate your personal taste and eye shape. With endless color combinations and styles to choose from, you can create a cut crease that perfectly complements your unique features.
A Step-by-Step Guide to the Perfect Cut Crease

Having explored the history and versatility of the cut crease, let’s learn how to craft this stunning look for yourself.
In the following sections, we’ll guide you through an easy-to-follow cut crease eyeshadow tutorial, breaking down each step for a sharp finish. From priming your eyelids to precision cutting, you’ll be a cut crease pro in no time!
Prime Time
Before starting with the eyeshadow application, ensure you have a good base. Using an eye primer guarantees long-lasting, crease-free eyeshadow application, setting the stage for your cut crease blend.
If you don’t have a primer on hand, you can also use a concealer or foundation as a substitute, just make sure to set it with powder to keep everything in place.
Apply your primer or base with your ring finger, a soft, flat brush, or a pencil brush to the top of the entire eyelid and bottom of your eyes for an even and smooth finish.
The Trio of Tones
Three fundamental eyeshadow shades are needed to create the perfect cut crease: a base shade (the color of your skin tone), a transition shade, and a dark shade.
-
Start by selecting a matte eyeshadow that is one or two shades darker than your skin tone as your transition shade. This shade will be applied above the crease, creating a smooth transition between the crease color and the brow bone highlight.
-
For the dark shade, choose from colors like dark brown eyeshadow, black, deep plum, and charcoal gray.
These three shades contribute to a well-defined cut crease by creating contrast and enhancing the natural contours of the eyes.
Apply the cut crease eye makeup look by following these steps:
-
Apply the lighter shade to the eyelid with a laydown flat eyeshadow brush.
-
Use the darker shade to create the cut crease line with a stiff, smaller blending brush.
-
Blend the two shades together with a medium tone for a seamless transition.
This technique will help you achieve the dramatic and eye-catching look that makes the cut crease makeup so captivating BEFORE you do the next step!
Precision Cutting
Now we arrive at the critical step of cutting the crease.
To do this, you’ll need a flat concealer brush, a thin eyeliner brush, concealer, and a cream stick foundation with full coverage.
-
First, apply concealer to an angled brush and swipe it just above the eyelid crease; this will help clean up the edges of the eyeshadow and provide a guide for the cut crease.
-
Next, use the flat brush to cover the rest of the eyelid with foundation and/or concealer, creating a sharp, curved line where the crease and lid meet.
-
Once you’ve carved out your crease with precision, it’s time to set your cream makeup with some shimmer or light matte eyeshadow. This will help make your cut crease pop and create a stunning contrast between the crease and the lid.
-
Dust a setting powder over the lids for a perfect finish, and voila – you’ve mastered the art of the cut crease!
Do’s and Don’ts: Cut Crease Edition

Here are some top do’s and don’ts that we follow to make sure your cut crease eyeshadow appears flawless. Here are a few best practices to keep in mind:
-
Make sure to pack and stipple the matte shadow, shimmer, or glitter above the lash line on top of the cream concealer or foundation.
-
Deposit a full coverage amount of shadow for the line back and forth using a pencil-shaped brush, placing the brush just above the crease line to blend it out and keep the bottom of the line sharp.
-
Do not set your concealer; this will allow the eyeshadow to pop out and create a more dramatic contrast between the crease and lid.
When it comes to avoiding common mistakes in cut crease eyeshadow application, here are a few things to watch out for:
-
Using too much product or neglecting to blend properly can cause your cut crease to look muddy or messy.
-
Skipping eyeshadow primer can result in creased eyeshadow that doesn’t last throughout the day.
-
Using the wrong products, such as an oil-based concealer, can make it difficult to achieve a sharp and precise cut crease.
Pro Makeup Tips and Tricks

Elevate your cut crease eyeshadow skills with expert advice and insider techniques from seasoned makeup artists and many celebrity makeup artist.
Here are a few pro tips to elevate your cut crease:
-
Start with finding where you want the defined makeup crease line to be and mark with tiny liquid liner dots the outline.
-
Blending is KEY before applying the concealer or foundation. Use a round fluffy blending brush to apply a dark eyeshadow and eye pencil.
-
Use a spoon or eyelash curler as a stencil to create a sharp, curved line where the crease and lid meet.
-
Blend the eyeliner outward with a small fluffy eyeshadow brush before it sets to create a smooth transition between the cut crease and the liner.
Summary
There is nothing stopping you from learning how to create a customized cut crease meant for YOUR eye shape and expressive needs!
So go ahead, unleash your inner makeup artist, and let your eyes be the canvas for your next makeup masterpiece!
Frequently Asked Questions
A cut crease makeup technique is a method where eyeshadow is used to sharply define the crease of the eye, creating a distinct and dramatic contrast between the eyelid and the area above the crease. It enhances the eyes by adding depth and dimension, giving them a larger, doll-like appearance!
A cut crease requires a sharp and crisp line of bold color above the eyelid fold to frame the lid, with no blending in the crease line for a defined eye socket; while the smokey eye gives a glamorous gradient of shadows or colors blended together like smoke from a candle.
Create an easy cut crease for hooded eyes by placing a eyelash curler over the eye socket, then use a fluffy eyeshadow brush to follow the shape of the metal edge to sweep on the color. Remove the curler to reveal a perfect rounded crease shape above your natural crease!
Yes, you can use eyeshadow base to cut crease! Choose a darker shadow, like a neutral brown, to define your crease and then blend a lighter shade on top to make it stand out. We recommend using matte shades as they are easier to blend than glitter or shimmer ones. For the best results, try PATRICK TA Major Dimension III Matte Eyeshadow Palette
The cut crease eyeshadow trend is decades old, first popularized in the 1960s and continuing to evolve since then. It has been reimagined by each era, making it a truly iconic look!

