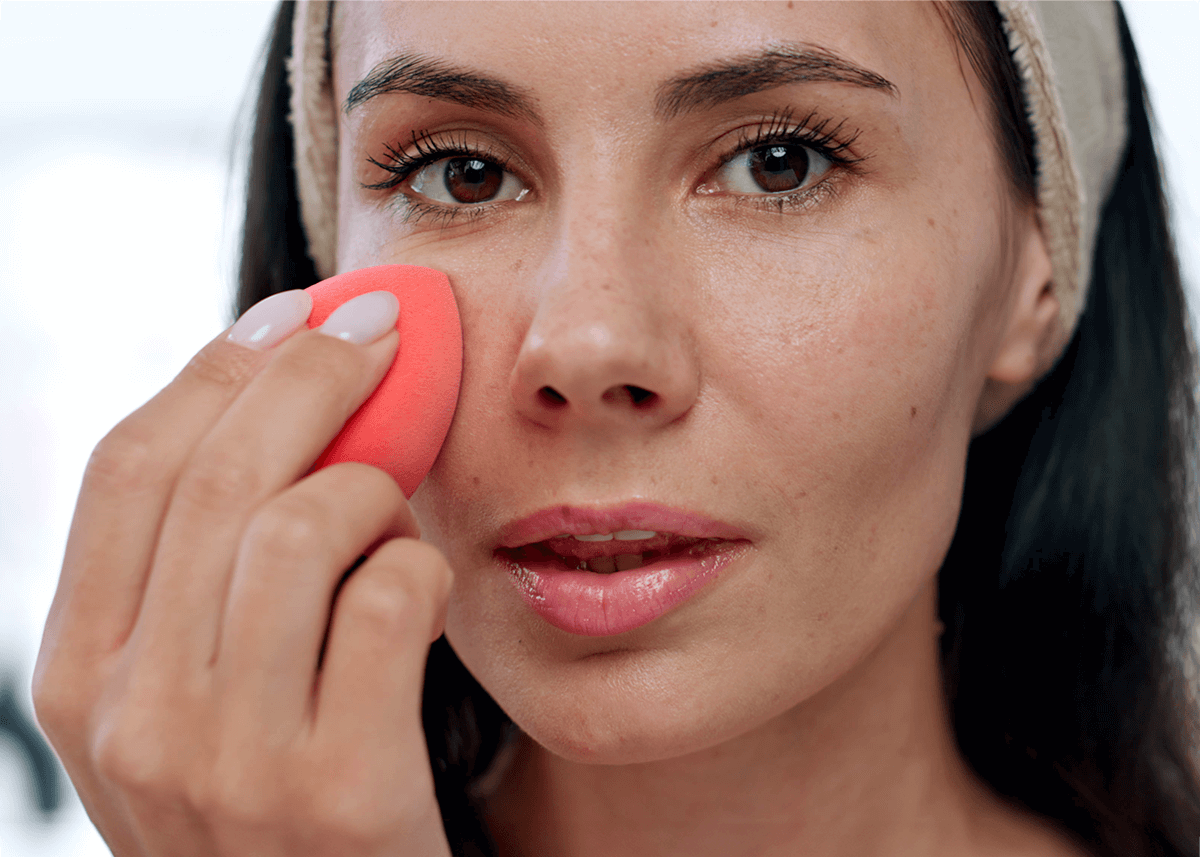
Ever wondered if you could apply your foundation better and exactly, how to do it?
We got your covered (literally)! Gone are the days of cakey, heavy makeup – modern foundation techniques promise a flawless, second skin that will enhance your gorgeous features.
Ready to master the art of how to apply foundation? Keep reading to discover your perfect match, learn pro techniques, and create a stunning makeup look that lasts all day!
Key Takeaways
-
Discover your perfect foundation formula match & how to prep your skin.
-
Learn the types of foundation and the best methods to apply it.
-
Find out which tools work for creating your targeted makeup look.
Types of Foundation: Discover Your Perfect Match

Gone are the days of only using one type of foundation. Today, we have a plethora of foundation types to choose from! Here our all the different formulas out there in the beauty industry:
-
Cream Foundation.
-
Liquid Foundation.
-
Gel Foundation.
-
Cushion Foundation:
-
Powder Foundation.
-
Stick Foundation.
-
Spray Foundation.
Each type of foundation is designed to cater to specific skin types, desired coverage levels, and personal skin preferences.
For instance, powder foundations are great for oily skin, while liquid foundations are recommended for all skin. To find your perfect match, consider your skin type, what skin benefits are important to you, the level of coverage you desire, and your preferred finish (matte, dewy, satin, natural, or luminous).
Having learned about the different types of foundation, let’s now focus on their application techniques.
Prepping Your Skin for Effortless Face Makeup
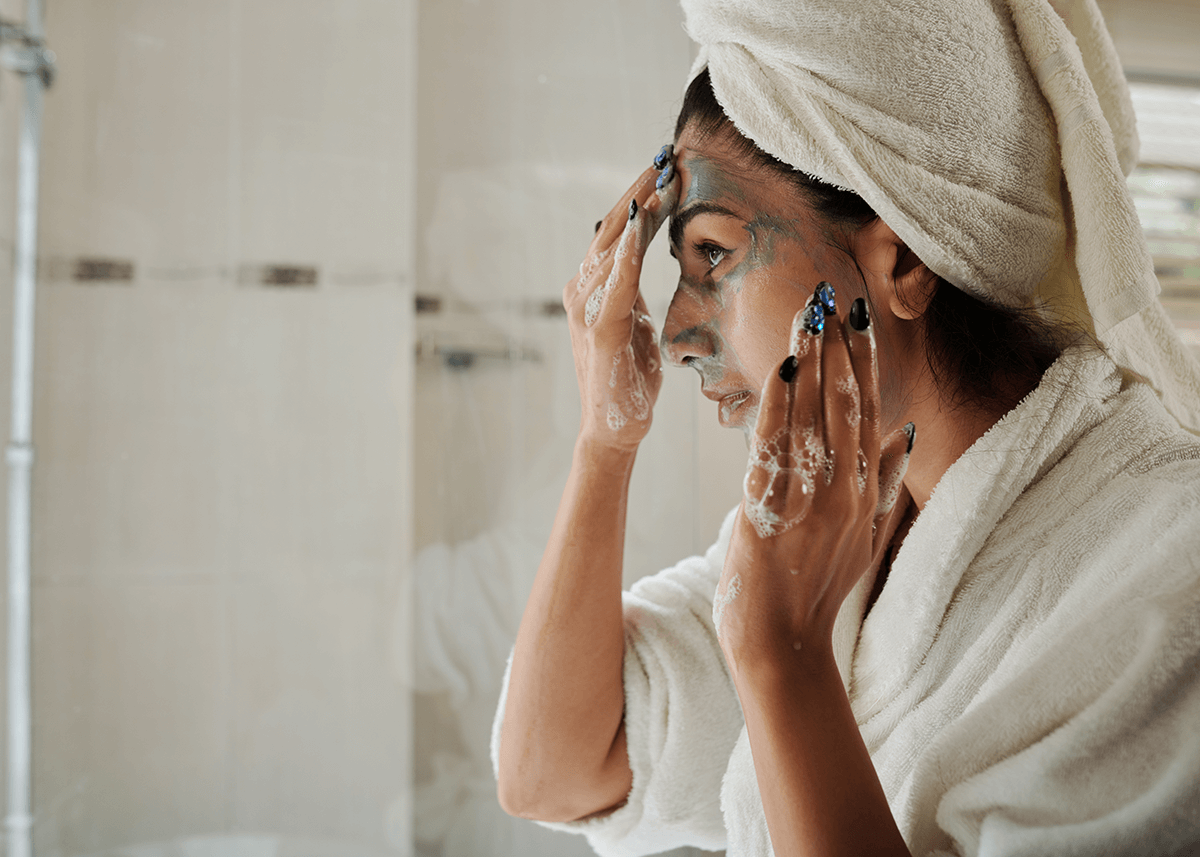
Before we move on to applying foundation, prepping your skin for an impeccable makeup base is a necessary step. Proper skin preparation, including cleansing, exfoliating, and moisturizing, will ensure that your foundation glides on smoothly and lasts all day. Remember, your foundation is only as good as the canvas it’s applied to, so make sure to maintain a clean and hydrated complexion.
Let’s explore the importance of each step in more detail.
Cleansing, Weekly Exfoliating, and Face Masks
Cleansing marks the initiation of skin preparation for foundation application. Ensuring your skin is clean is imperative to avoid clogged pores and remove any dirt that could diminish your natural glow. While cleansing is essential, don’t forget about the wonders of weekly exfoliating and using face masks.
Exfoliating helps revitalize your skin by:
-
Smoothing its texture
-
Removing dead skin cells
-
Unclogging pores
-
Stimulating blood flow
-
Enhancing hydration
-
Evening out skin tone
Face masks offer an added bonus to your skincare routine, helping to:
-
Unclog pores
-
Remove dirt and excess oils
-
Lock in moisture
-
Refine skin pores
-
Provide a brightening or glowy effect
By incorporating face masks into your skincare routine, you’re setting the stage for a flawless foundation application, ensuring that your makeup looks its absolute best.
So, say goodbye to dull, lifeless skin and hello to a radiant, glowing complexion that showcases your natural skin tone by applying a thin layer!
Hydrating Your Skin
Maintaining well-hydrated skin is pivotal for a smooth and even foundation application. A well-moisturized skin will serve as an ideal canvas, letting your foundation blend effortlessly and seamlessly. To keep your skin looking and feeling its best, it’s essential to use the right moisturizer for your skin type. For oily skin, opt for a water-based, oil-free gel moisturizer, while those with dry skin should choose a thick moisturizing cream.
In addition to using the right moisturizer, you can also incorporate face serums, toners, and essence into your skincare routine. These products provide extra hydration and nourishment, ensuring that your skin remains healthy and radiant. Remember, well-hydrated skin is the key to a flawless foundation application, so don’t skimp on your skincare routine!
Priming Your Skin
After your skin is cleansed, exfoliated, and hydrated, the next step is priming. A primer smooths your skin before the foundation application, ensuring a long-lasting makeup look.
Primers come in various formulas, such as anti-shine or illuminating, to cater to different skin types and concerns. Choose a primer that suits your skin type and desired finish (matte or dewy), and apply it evenly across your face, focusing on areas where you want to minimize the appearance of pores, fine lines, or redness.
Now that your skin is primed and ready, let’s explore the essential tools for applying foundation.
Essential Tools for Applying Foundation
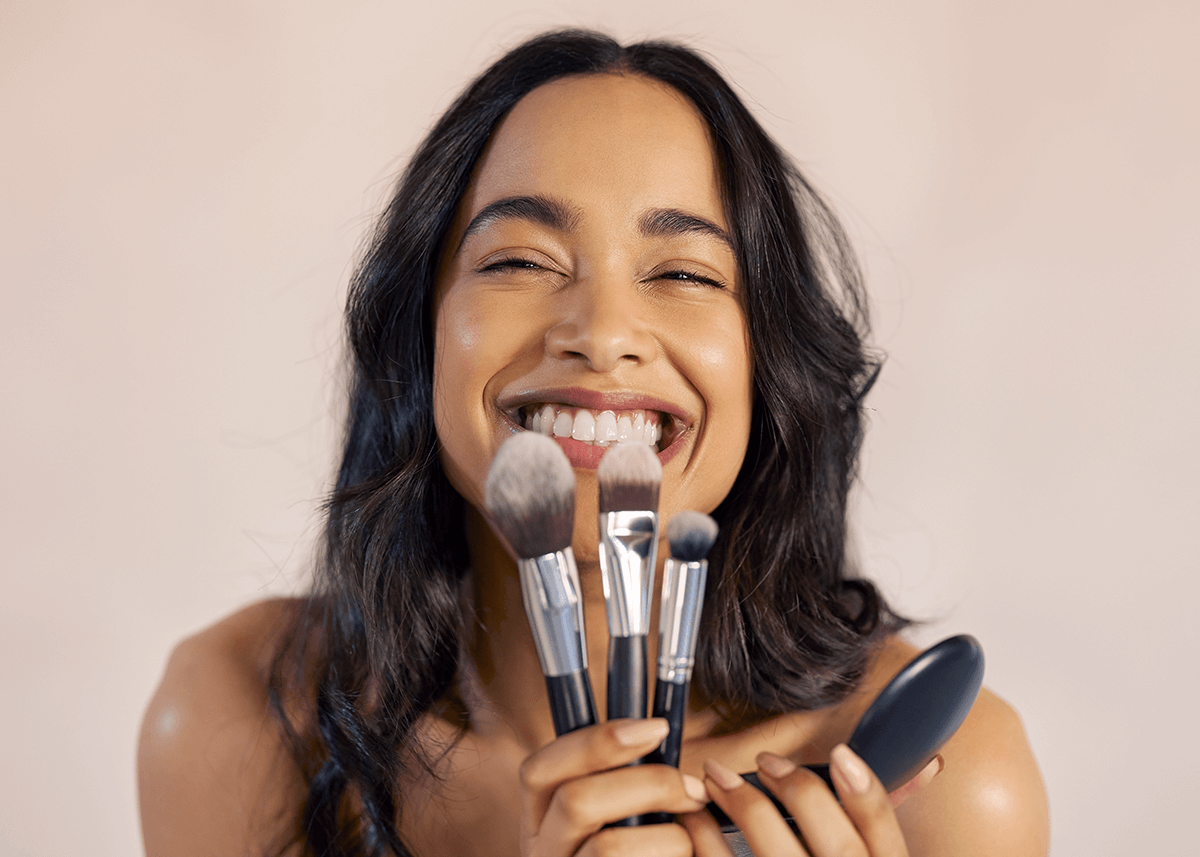
Keep in mind that selecting the appropriate foundation applicator tool is key to achieving the ideal makeup look!
The method of application can really impact your foundation style, how much time it takes to apply it, and the overall blend. Makeup sponges, brushes, and even your fingers can all be used to apply foundation, but each one offers unique benefits depending on the foundation type and desired finish.
Here are the many tools to use to apply foundation onto the skin: You could use:
-
A damp beauty blender.
-
A cushion sponge.
-
A liquid flat paddle or cream foundation brush.
-
Your fingers.
But the crucial part is to select the makeup accessory that best suits the specific foundation formula and your desired finish. For example, a dense brush may work better for cream foundations for fuller coverage, while a damp makeup sponge might be ideal for liquid foundations to sheer it out.
We’ll examine each makeup tool and its advantages in detail!
Beauty Blender and Cushion Sponges
Beauty blenders and cushion sponges are excellent ways of applying foundation for liquid, cream, and cushion foundations, offering a natural, airbrushed finish. To use a beauty blender or cushion sponge, follow these steps:
-
Wet the sponge and squeeze out any excess moisture. Skip this step if using a cushion sponge.
-
Dip the sponge into the liquid, cream, or cushion foundation.
-
Use a dabbing motion to bounce the side of the sponge all over your face. Making sure to blend and build coverage where necessary.
-
This technique helps to smooth the foundation evenly and achieve an even finish.
How to clean a makeup sponge: Regular cleaning is vital to maintain the performance and hygiene of your beauty blender or cushion sponge. This avoids bacteria build up and transfer to the skin.
Here’s how to clean your sponges properly:
-
Wet the sponge.
-
Rub it against a bar of soap or use a makeup brush cleaner to remove stains and buildup.
-
Squeeze multiple times then rinse it thoroughly.
-
Squeeze again to drain out excess water.
-
Allow it to air dry completely.
Proper care will ensure that your beauty tool, such as makeup tools, remain in top-notch condition and provide a seamless foundation application every time.
Foundation Brushes
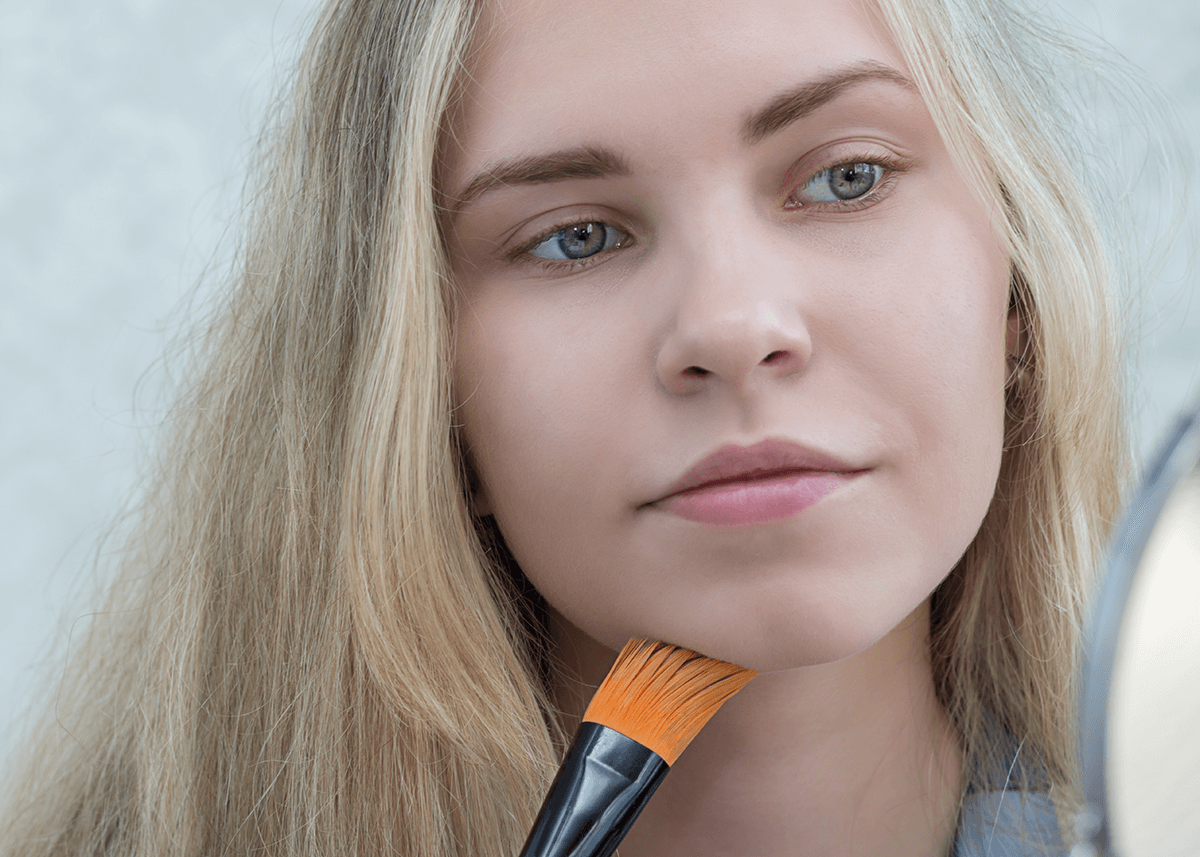
Foundation brushes come in various shapes and sizes, each designed for a specific foundation formula and finish.
-
Synthetic dense short brushes, similar to a short blush brush, are highly recommended for applying cream foundations.
-
Flat-top kabuki brushes or soft yet firm powder brushes, are a must-have for powder foundation application.
-
Synthetic paddle brushes are the best for any liquid foundations to provide even coverage.
When using a brush, the key is to blend the product onto your skin using firm but gentle motions, always going downwards with the fine hairs on the face. Starting from the outer parts of your face and moving inwards so that it looks even and blended.
To maintain clean and well-kept foundation brushes, adhere to the following steps:
-
Wet the brush with lukewarm water.
-
Apply a small amount of gentle brush cleanser to the bristles. Making sure not to go past the ferrule.
-
Gently massage the bristles to work the cleanser and get rid of the product buildup.
-
Rinse thoroughly with lukewarm water until the water runs clear.
-
Squeeze out any excess water and reshape the bristles.
-
Feel free to fluff them by washing them again with baby shampoo.
-
Lay the brushes flat to dry on a clean towel with the heads sticking out over a ledge for proper air flow or a brush drying rack.
Regular cleaning will help to remove bacteria, oils, and product buildup, and ensuring that your foundation brushes maintain their quality and performance!
Fingers
Using your fingers to apply foundation is easy and best when you don’t have access to your other applicators. The warmth of your hands helps to melt the foundation into your pores, creating a full coverage look. To apply foundation with your fingers, follow these steps:
-
Apply a very small amount of foundation on your ring finger and middle finger.
-
Use these two fingers to gently massage the foundation into your skin using circular, buffing motions.
-
Make sure to cover your cheeks, forehead, and other areas as evenly as possible.
Remember, using fingers to apply foundation can be sanitary as long as your hands are thoroughly clean. Wash your hands for 20 seconds before applying foundation and make sure your foundation products are sanitized to avoid transferring any dirt or bacteria onto your face.
Easy Step-by-Step Guide to Applying Foundation
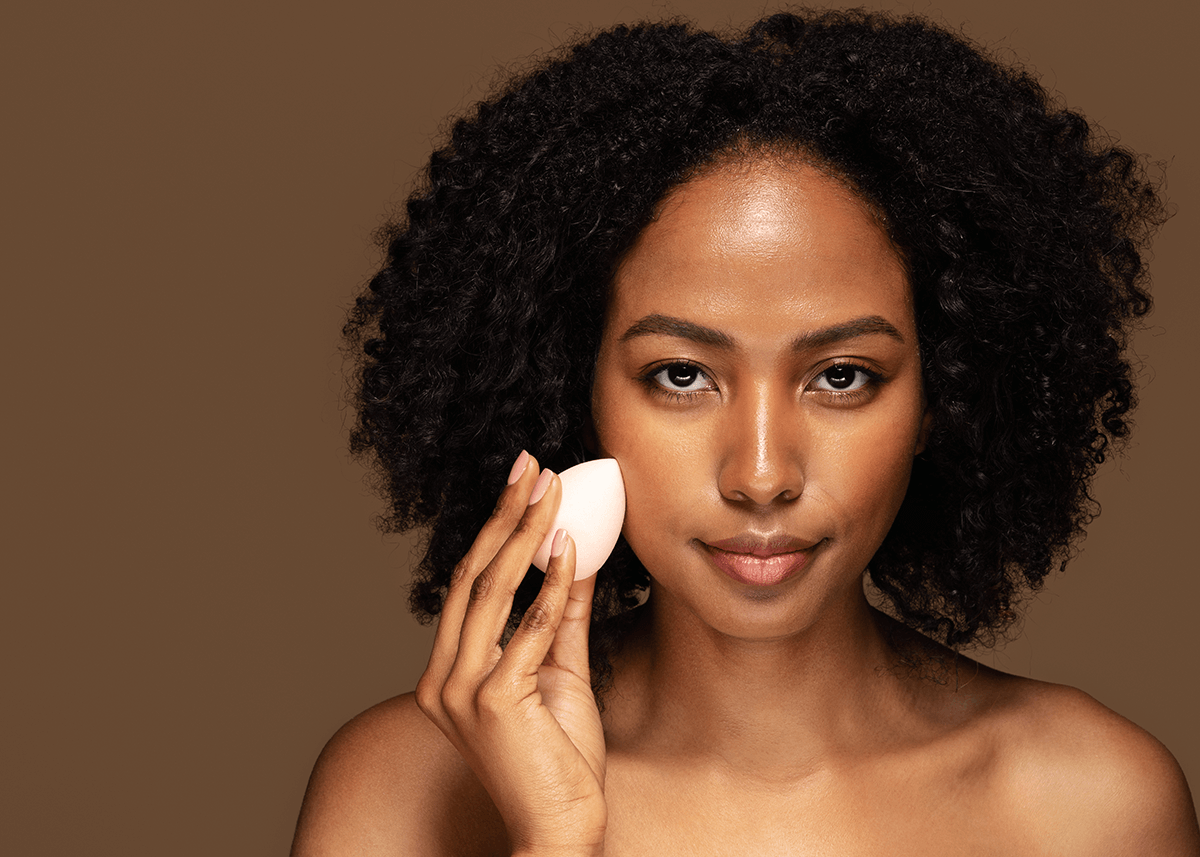
Having gained knowledge about the different types of foundation and the necessary tools for different formulas, it’s time to put all of this information into practice! Follow our pro step-by-step guide to applying various foundation types for:
-
Liquid foundations.
-
Cream foundations.
-
Cushion foundations.
-
Powder foundations.
-
Stick foundations.
-
Spray foundations.
Here is all the application technique methods you need to know that celebrity makeup artist use and work with towards creating a stunning makeup look that accentuates YOU!
Liquid, Cream, and Cushion Foundations
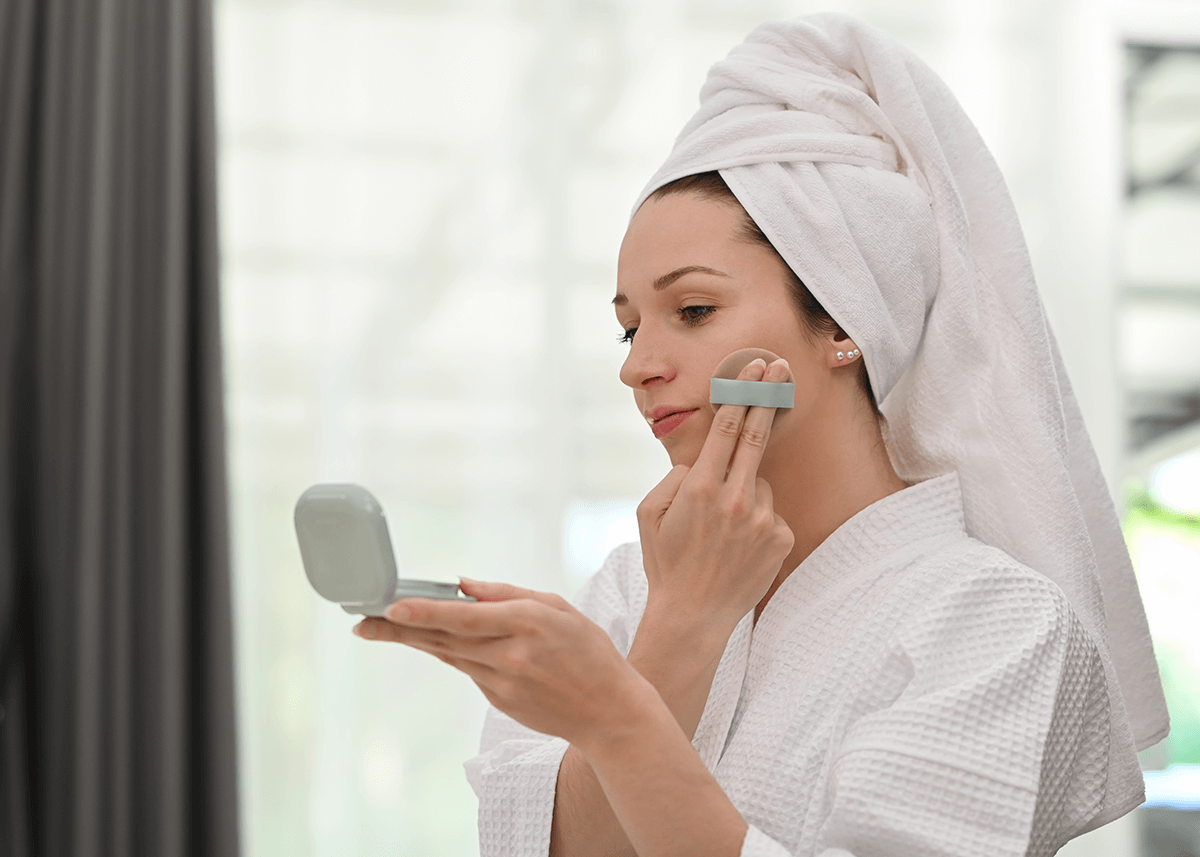
When it comes to liquid and cream foundations, the key is to start with a small amount of product on the back of your hand and work it into your chosen applicator. Here’s how to apply liquid and cream makeup:
-
Dot the product on your nose, upper cheeks, and forehead.
-
Take synthetic bristles brush or a makeup sponge and buff and blend the foundation using downward motions until fully blended.
-
Add more product to areas where you’d like more of a full finish or heavier coverage.
Don’t forget to blend the product into the underside of the jawline and the neck for an even tone.
If you’re using cushion foundation compacts, use the provided cushion sponge to apply the product onto the skin. Put your ring and middle finger in the ribbon band, then use tapping motions all along the face and neck.
For those who prefer a more “hands-on” approach, applying liquid foundation with your fingers is best when you don’t have a better alternative. Here’s how to apply liquid foundation using this method:
-
Start by applying a bit of foundation to the back of one hand.
-
Dip your fingers in the foundation and dab the product in little dots spread out over the face.
-
Blend the product gently around your skin, starting on the outsides of your face then working your want towards your T-zone.
Powder Foundations
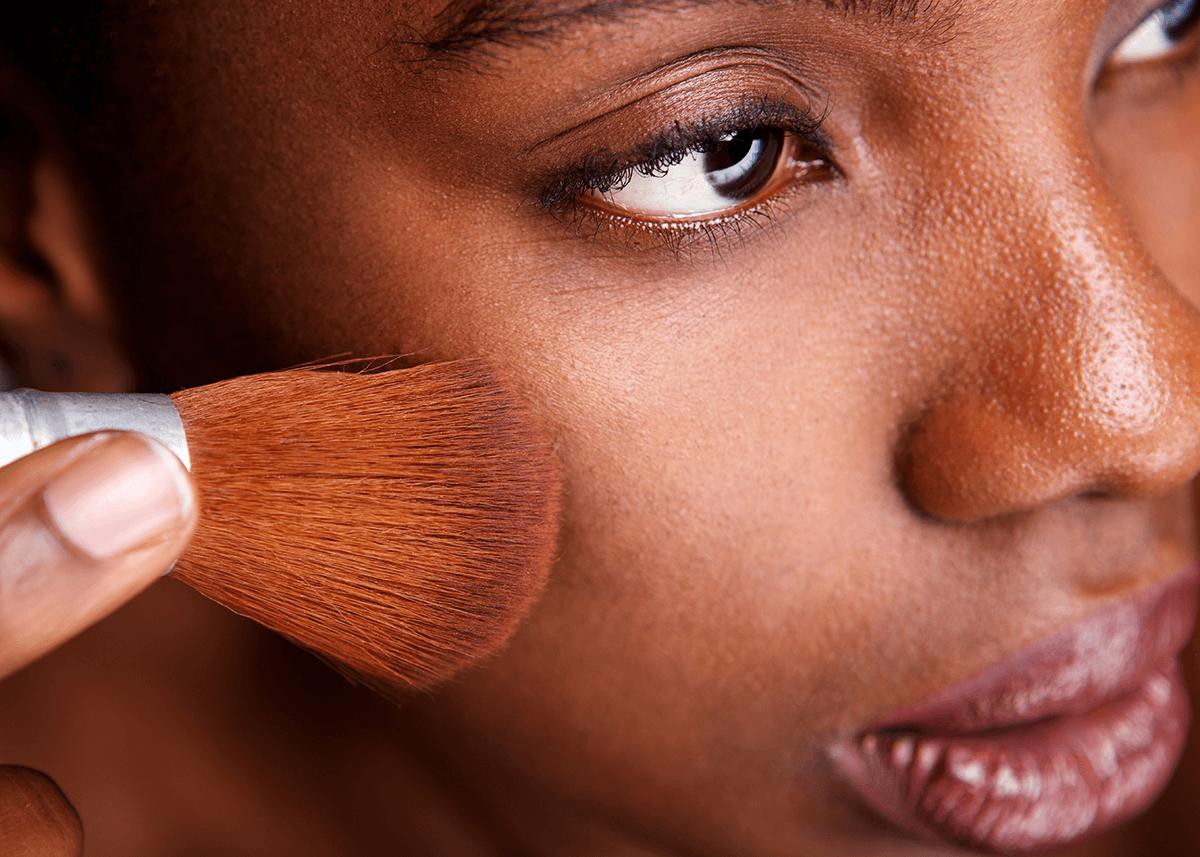
Powder foundation is perfect for those who want a quick, easy, and mess-free makeup application. To apply powder foundation, simply follow these steps:
-
Tap large powder brush into the product one or two times.
-
Apply the powder to the face in large, circular strokes. Starting from the outside then inwards.
-
This technique helps to evenly distribute the powder and build coverage as needed.
Keep in mind that powder foundation is best applied over a clean and moisturized canvas, avoiding any liquid or cream products on top of it, as this can cause the powder to cake or clump.
Stick and Spray Foundations
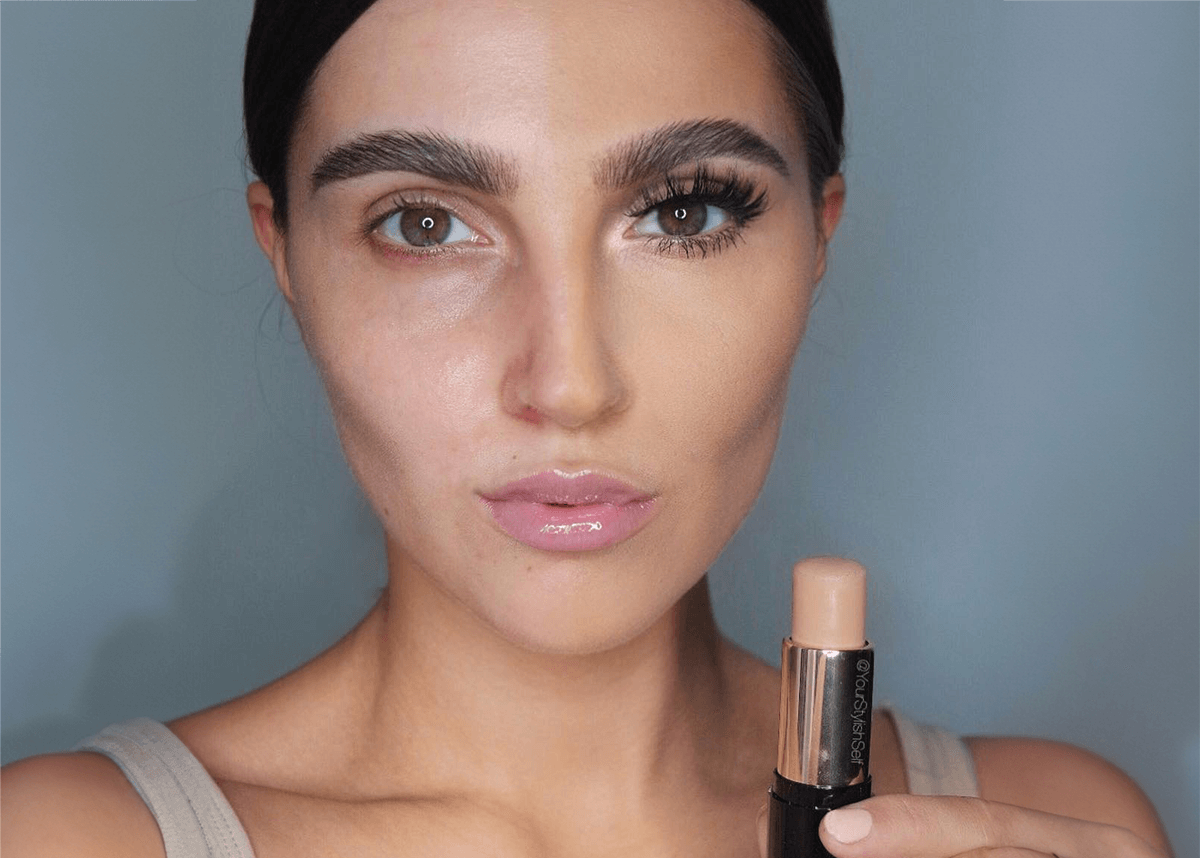
Stick and spray foundations offer a quick and easy way to achieve a flawless complexion for on the go.
For stick foundation, simply use a cream brush and tap it a couple times into the stick. Buff the product across your face and blend it in with the same brush or sponge.
Spray foundation, on the other hand, is applied using a small gun or pen-like applicator that sprays a fine mist of foundation onto the skin. Either apply it directly the face or spray it onto the back of the hand and use a brush for precise application.
Both stick and spray foundations provide buildable coverage, allowing you to achieve your desired level of coverage with ease!
Customizing Your Coverage
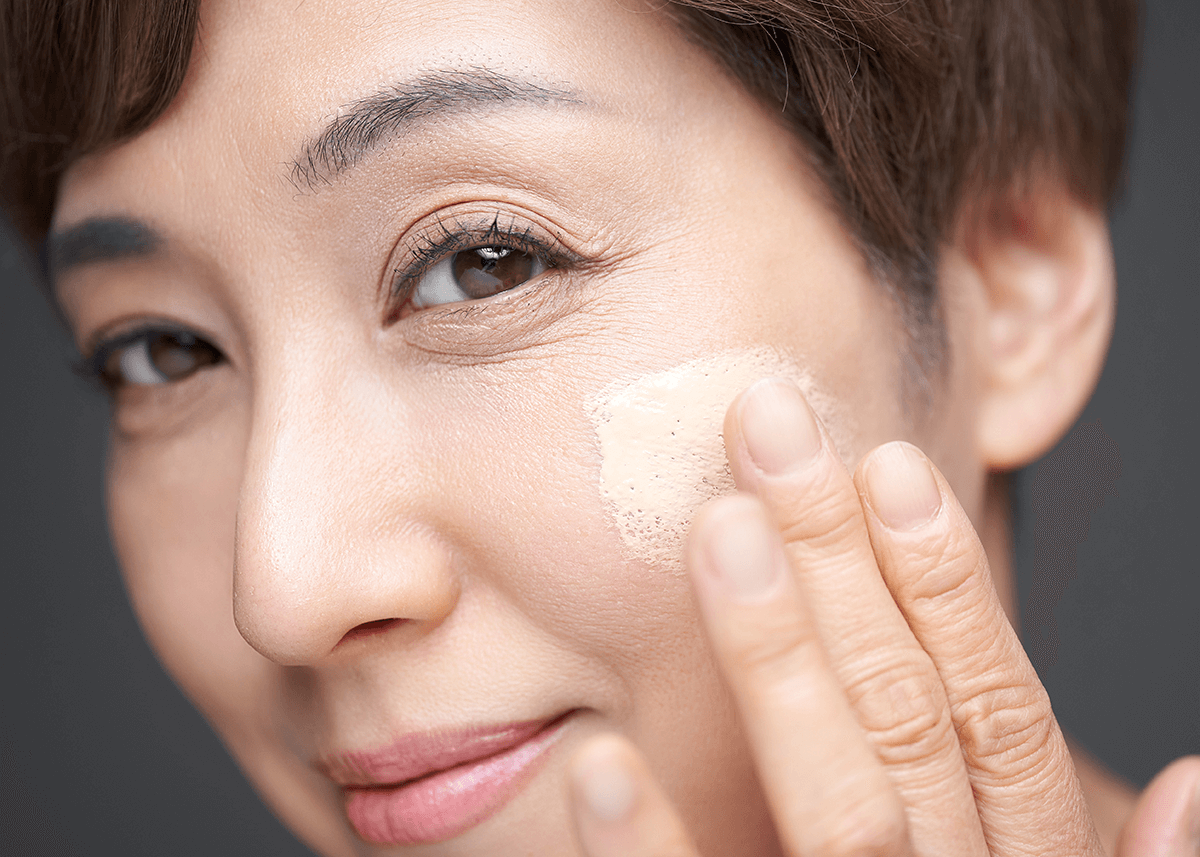
One of the best things about foundation is its versatility. With so many formulas and coverage levels to choose from, you can easily customize your foundation to suit your skin’s needs and desired makeup look.
From sheer to full coverage, there’s a foundation out there for everyone!
To create your perfect coverage, consider mixing different foundation formulas. For example, you can use a full-coverage foundation powder on top of a sheer to medium buildable liquid foundation to create a medium to full coverage look that suits your skins needs!
When customizing your coverage, it’s important to keep your skin type in mind. For example, if you have oily skin, you may prefer a matte foundation that helps control shine, while those with dry skin might opt for a hydrating or dewy foundation for a luminous glow.
Pro Makeup Do’s and Don’ts for Foundation Application
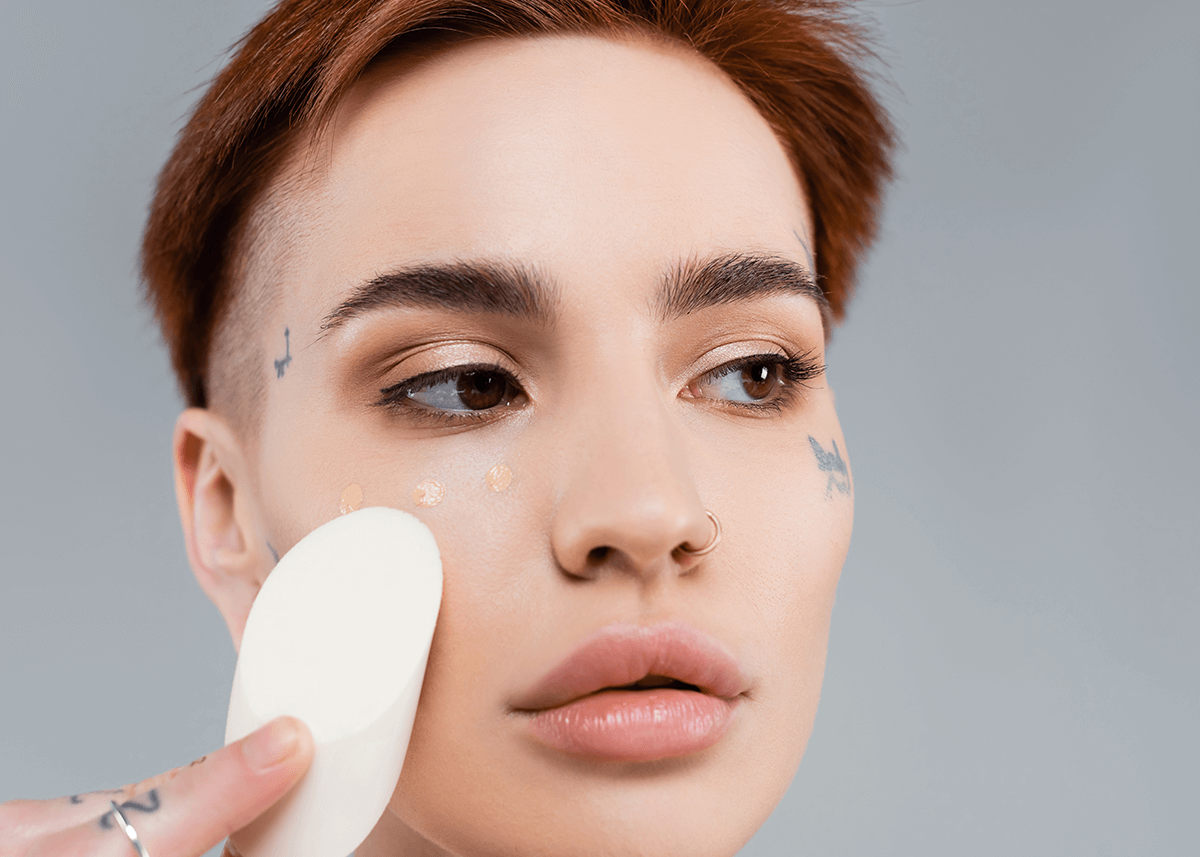
Following some professional makeup do’s and don’ts is crucial for a flawless skin look!
-
First, make sure to choose the right shade and benefit features in your foundation. Common mistakes include overlooking your skin type, not swatching the foundation on your skin before purchasing, and choosing a shade that only matches your face and not your neck or tanned shoulders.
-
Do use a setting spray in between foundation and concealer application for a long lasting look!
-
Another crucial tip is to blend your foundation properly. Any harsh lines. make sure to blend that in so that your makeup looks like second skin. If you are unsure, bring your face towards natural lighting and take a selfie!
-
Don’t just use water for your beauty blender, use a setting spray for your skin type to make it damp and apply your makeup.
-
Finally, don’t forget to set your foundation. Setting makeup is essential for a long-lasting finish, as it helps to lock the makeup into place and prevent smudging, melting, and fading throughout the day. You can set your foundation with a setting powder and spray, depending on your preference and the finish you want to achieve.
Summary
Creating the skin canvas of your dreams CAN be intimidating. But we believe that when you try new techniques or use the right foundation tools, you can achieve the gorgeous skin makeup look that you’ve always wanted!
By following our step-by-step guide and pro makeup tips, you’ll be able to create a flawless complexion that enhances your stunning facial features and guarantee your makeup to last – just don’t forget to have fun along the way!
FAQs
Start with a primer then a dab of foundation on the nose, forehead, cheeks, and chin, then blend it downwards to blend with the little hairs on the face using either a brush or sponge. For extra coverage, apply a light layer to any blemishes that may be visible. Finish off the look with some setting powder and spray for an all day hold.
Preferably, use a clean foundation brush or damp sponge depending on the formula! Your fingers should be the last resort if you want a smooth, even finish.
Yes, it can be beneficial to apply concealer before foundation. Depending on your skin, you can apply concealer before, after or both! This includes cases when you’re getting photographed and need more coverage, when your concealer shade is different from your foundation, or if you need color-correction for discoloration.
Consider your skin type, swatch the foundation on your skin near your jawline and pick a shade that matches both your face and neck for a beautiful, natural finish – this is the best way to choose the right foundation shade for your skin tone!
For a natural, skin-like finish, use a light hand for minimal pressure and blend the foundation evenly onto your face, starting from the outside of your face working inwards. Covering all areas of your face for a flawless look!

