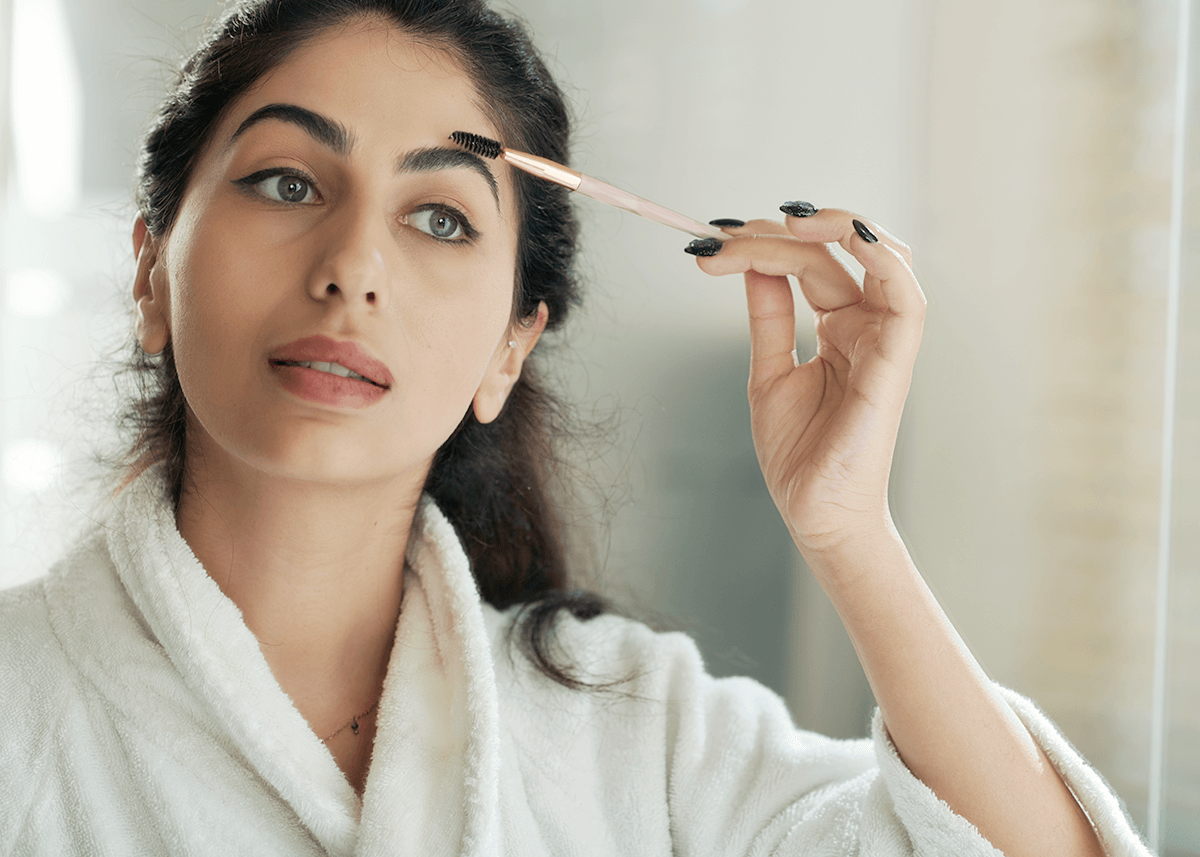
Achieving the perfect brows that enhance your face shape and stay on trend is easier than you think. So, how do you fill in your eyebrows to look truly stunning?
In this article, you’ll discover how to fill in your eyebrows using the best products tailored to your needs. We’ve gathered top tips, tricks, and techniques to help you master the art of eyebrow filling.
Let’s transform your look—your new perfect brows await!
Key Takeaways
-
Choose the Right Product: Pencils for soft definition, powders for fullness, pomades for boldness, pens for precision, and gels or soap for hold.
-
Prep Your Brows: Brush with a spoolie, tweeze stray hairs, and match product color to hair and skin undertones.
-
Apply with Care: Use small, hair-like strokes and blend with a spoolie for a natural look.
-
Advanced Tips: Combine shades for depth, set brows with non-brow products like Vaseline, and test textures and colors before applying.
-
Avoid Common Mistakes: Steer clear of overly rounded or square shapes and avoid filling brows with one solid dark color.
Selecting the Ideal Brow Product
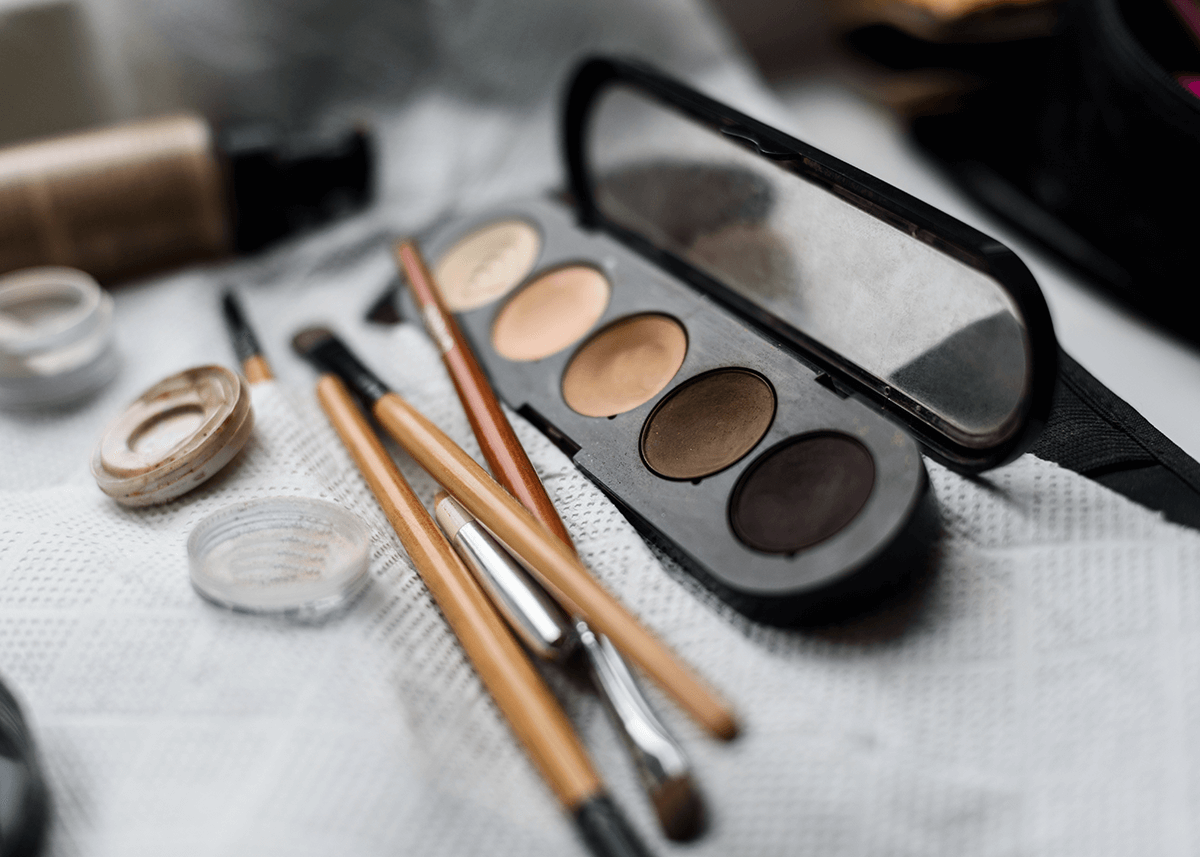
Achieving the perfect brows starts with selecting the right product. There’s a vast array of eyebrow products out there, each with its unique benefits. Here are all the best options and what they do:
-
Brow pencils: offer soft, natural definition.
-
Powders: give light to full coverage, making it a popular choice that’s perfect for filling sparse brows.
-
Brow pomades: deliver a long-wearing, defined, and bold look with some hold.
-
Brow pens: ideal for creating precise, hair strokes. Medium to full coverage.
-
Brow gels: are great for adding luster back to the hairs, definition, color, fiber, and shape.
-
Brow soap: the laminated look is still kind of in, so don’t forget that this product is great for keeping the brow hairs locked into place.
No brow product application is complete without the use of an eyebrow brush for a perfect start and finish. Here are some features to look for in great applicators:
-
Angled Brow Brushes: These are versatile and can be used with all brow products. Look for one that is super thin yet dense enough to create perfect, hair-like strokes.
-
Comfortable Handles: A brush that feels good in your hand allows for better control and precision. Thin yet soft bristles are ideal for achieving a natural look.
-
Dual-Ended Tools: Brushes with a spoolie on one end and an applicator on the other are convenient for storage and use. A spatula combined with a spoolie can help you sculpt and perfect your brows. come!
Top Eye Brow Fillers
Choosing a brow product is not just about picking the top rated product off the shelf.
It involves considering several factors to achieve the perfect match. Think about the look you want to achieve with your brows, whether it’s a natural, fuller, or more sculpted appearance.
Take into account the thickness of your natural brow hair, the shape you want to create, and hair color as these will influence the shade and formula of the brow product you choose.
And most importantly, make sure the product color matches your hair. This way, you’re sure to pick a product that complements your features and enhances your natural beauty.
Here are some highly recommended brow products you’ll love:
-
Eyebrow Wax: Ideal for keeping your brows in place with a hint of color for fullness. Look for a formula that’s vegan, non-flaking, and flexible.
-
Brow Powder: Opt for one with buildable pigment and long-wear capabilities. A soft powder texture that doesn’t oxidize is perfect for filling sparse brows.
-
Brow Pencil: A good brow pencil should come with a refill, an angled tip for precision, and a spoolie for blending. It helps create natural-looking brows.
-
Brow Pomade: Choose a waterproof, smudge-proof, and full-coverage pomade, especially if you have sparse or thin brows. Great for oily skin and humid weather.
-
Brow Gel: Find a brow gel that offers extreme hold and a laminated look. Use a small amount with a spoolie and a spatula for perfectly shaped brows.
Prepping Your Brows for Perfection
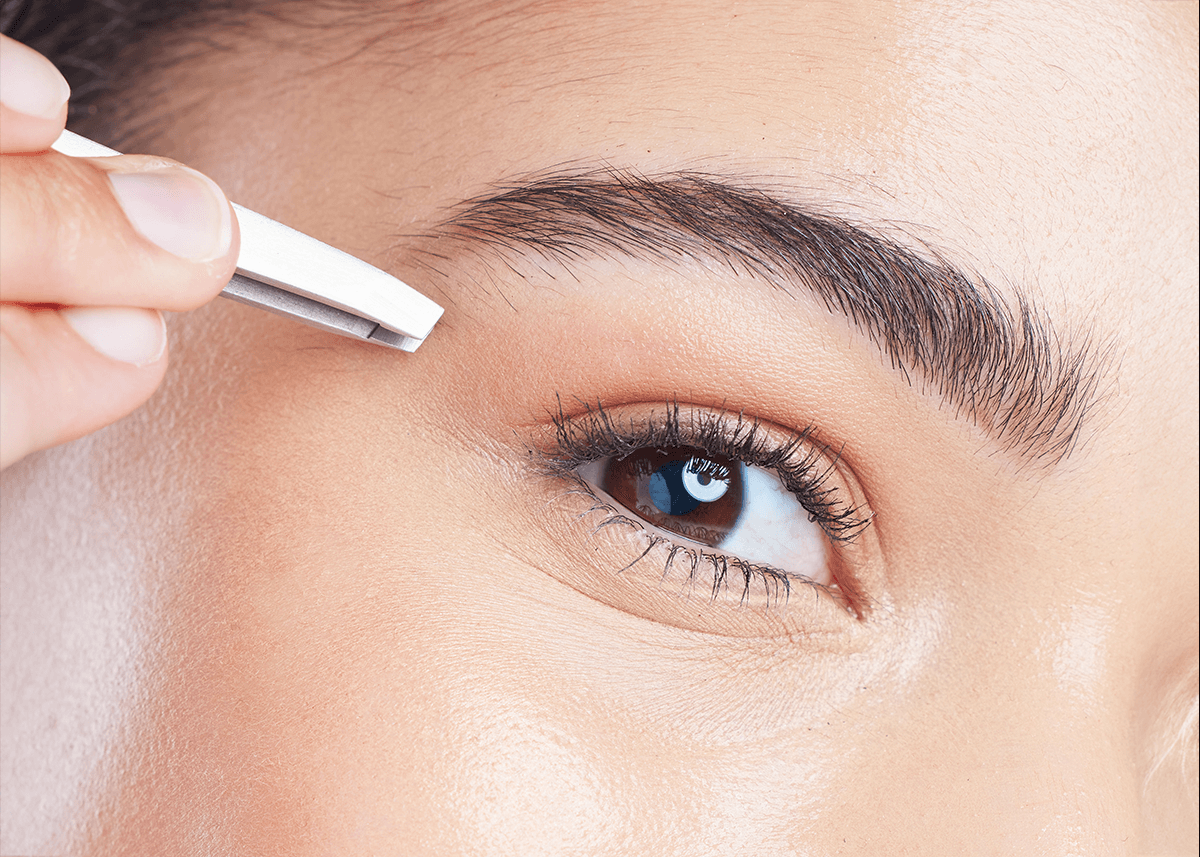
Properly prepping your brows is the best way to get stunning results after filling them in! Here are the steps to follow:
-
Brush your brows with a spoolie to fluff out the hairs to how you’d like them to look. Go against the hair grain in small back and forth movements, then upwards at the head, then downwards towards the tail.
-
Use concealer to “cut” around the edges before and after. This simple step can make a significant difference in accentuating your brow bone and achieving the desired natural brow shape.
-
Blend the brow product with a spoolie after filling them in to soften any harsh markings.
Full brows are in. But cleaning around the main shape is here to stay (unless you’re a model). Remove the stray hairs so that you get the best definition without any distractions. Just follow these steps to tweeze stray hairs:
-
Tweeze them one at a time after being in the shower/steam.
-
If there is a painful pull, press down on the area with your finger for a few seconds to relieve any pain.
-
Use a clean tissue to wipe off any excess.
Don’t know if you’re over plucking and wondering how to prevent it? Before removing questionable hairs that are really close to the brow itself, move the one hair over to the side with the tweezers and hide it with the tool to see if it’ll make an unwanted shape!
Choosing the Right Brow Color
Now that your brows are prepped and groomed, it’s time to choose the right brow color. Finding the perfect match for a natural look involves considering both your hair color and skin undertones. Here are some detailed tips to help you choose the right brow color:
-
If your hair has reddish hints: Match the color of your hair highlight. This helps create a cohesive look that complements your overall hair color, making your brows look naturally blended with your hair.
-
If you have dark brown hair: Match to your base color. Dark brown hair often has rich, deep tones that can be beautifully complemented by a brow color that matches the base shade of your hair, ensuring your brows don’t stand out unnaturally.
-
For warm undertones in your skin: Go for brow pencils with warm undertones. Warm undertones in your skin pair well with browns that have a hint of red or gold, giving your brows a harmonious look that blends seamlessly with your skin.
-
For cool skin tones: Look for pencils with cool undertones. Cool undertones in your skin are best matched with brow colors that have ashy or neutral tones, avoiding any colors that are too warm or golden.
-
For blondes: Choose a brow color that is one to two shades darker than your hair color. This ensures your brows are visible and defined without looking too harsh against your light hair.
-
For black hair: Opt for a brow color that is a shade lighter than your hair. Pure black can often look too stark and unnatural, so a dark brown or soft black can provide a softer, more natural appearance.
-
For grey hair: Use a brow color that matches your natural undertone but is not too dark. Soft, ashy tones work well to complement grey hair, adding definition without appearing too bold.
Selecting the right brow color is crucial for achieving a natural and flattering look. Take your time to experiment and find the shade that best enhances your features and complements your overall appearance.
Creating Your Best Brow Shape
Crafting the ideal brow shape is an art form in itself. It’s not just about filling in your brows; it’s about creating a natural shape that complements your facial features. The best way to do this is by:
-
First brushing your brows upwards in an angle with a brow brush or spoolie.
-
When filling them in, start at the bottom center and work your way outwards, using small strokes to mimic the appearance of natural brow hairs. Then fill in the head of the brow lightly so the brow goes from lighter to darker filled.
The tail of the eyebrow should extend beyond the corner of the eye, in a straight line from the edge of the nostril to the edge of the eye, especially for those with thinner brows.
Filling in the Gaps: Step-by-Step Application
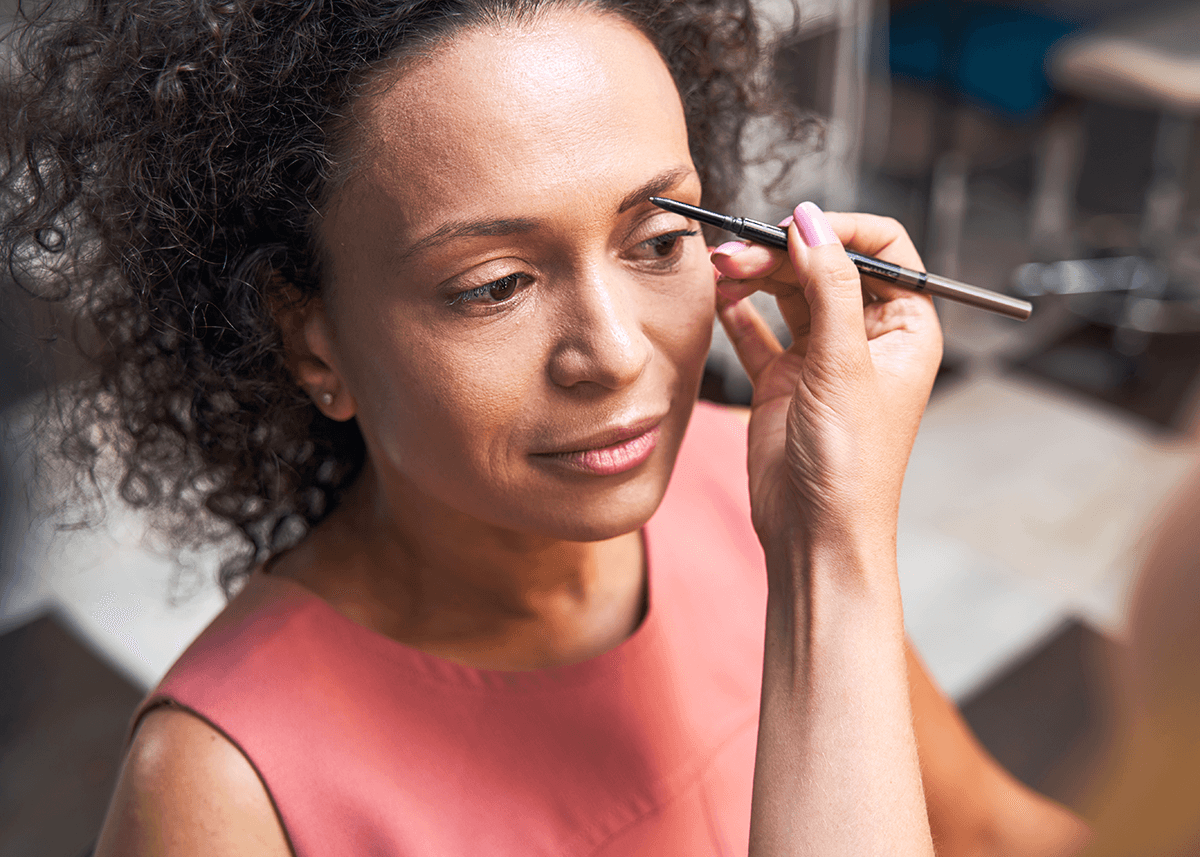
Although filling in your eyebrows may appear intimidating, the biggest tip is to create a shape and definition that is modern and full.
If you’re using a brow pencil here are the steps to follow:
-
Use the angled tip to outline the brows. Then mimic the stroked of hairs for the head, and throughout the brow to the tail.
-
Use the wide portion of the tip for shading and adding dimension. This helps create natural feather-like strokes.
-
Spoolie the brow to blend the product and the wax of the pencil.
-
Finally, use brow mascara to set your brows in place for a long-lasting look.
For those using brow powder, here’s how to apply it:
-
Start by tapping a couple times an angled brow brush in the brow powder.
-
Tap off any excess powder or press onto the back of the hand a couple times for the best control.
-
Apply the powder with short, light strokes from the lower edges, filling out the tail first the mimicking the hair strokes at the head of the brow.
-
Blend the powder with a spoolie for a natural appearance and softly rounded brow shape.
Keeping brow hairs full, strong, healthy as we age is hard. Use a clean beauty brow serum, which is loaded with peptides, keratin, and Vit B5. This product will naturally define your look, even for those with sparse brows, by promoting hair growth in any patchy or empty areas!
Another fantastic product to fill in your eyebrows is eyebrow soap. Here’s how to use it:
-
With the clean end of a spoolie brush, scoop out a TINY amount of brow soap and place it onto the back of your clean hand.
-
Then work the spoolie into the warmed up formula.
-
Go against the grain of the hair, then upwards, then downwards towards the tail till you get the shape that you like.
-
Use the flat end of a spatula to push the hairs against the skin for the perfect, in place brow!
Elevating Your Look: Advanced Brow Tips
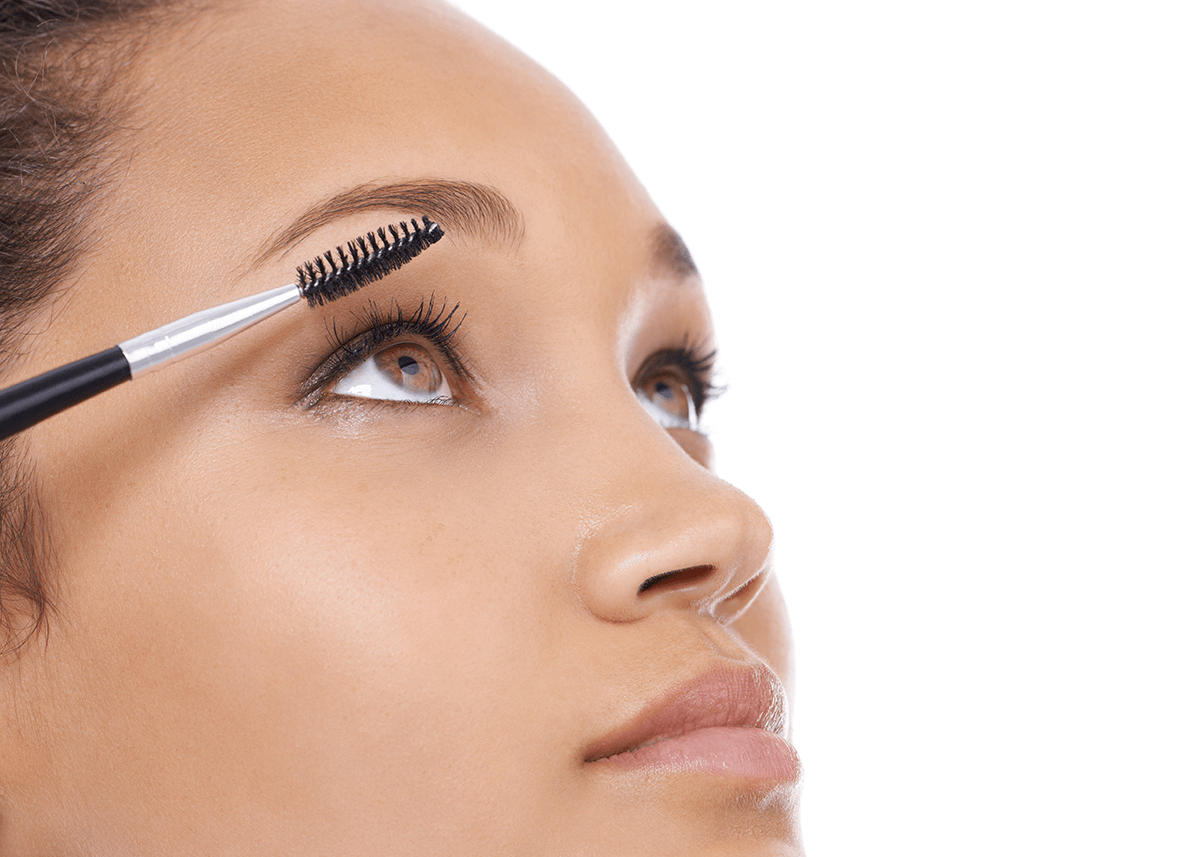
You know we love giving you the best pro artist makeup tips! Here are some of our favorite tricks to note:
-
Using multiple shades of brow filler can create a more natural and defined look. For instance, combining a light brown shade with ash undertones for lighter skin and focusing a matching shade on the outer corners can lift and elongate the brow. It’s a simple trick that can make a significant difference in your look.
-
Use a slightly lighter and cooler shade than your natural eyebrow hair for a subtle look.
-
Vaseline or petroleum jelly or hair spray (an 80’s fashion model trick) can help set your brows, even if you have very uncooperative eyebrow hairs. So, you can always achieve the perfect brows, with or without commercial brow gels.
-
If you’re not too sure what product will work for you, test out different formulations by applying the product to the little hairs on your arm to feel the texture, color, and look!
Brow Looks to Avoid
How do you know if your eyebrows are out of trend, don’t look good, or are not right for your face? Here are the worst eyebrow looks you want to avoid and want to re-learn how to do:
-
The Sperm Eyebrow: This is when the head of your eyebrow looks like the head of a….tadpole. Then goes really thin all the way to the tail end of the brow. How to fix this: trim the long head hairs, and fill in the rounded edges then fill in the mid way point so that it looks thicker.
-
The Square Head Eyebrow: As trendy as this was in the early 2000’s, it just looks like you’re always a bit mad. And it looks quite harsh tbh. Solution: Don’t imprint the angled brush in straight lines at the head of the brows or cut with concealer so that it looks like a square. Let the head of the brow fade into the darkness of the tail end and mimic the hairs with little strokes upwards to create a beautiful fill.
-
Too Solid, Too Dark: If you’re just filling in your whole eyebrow from the head, middle, to the tail in one solid dark tone….this is going to make you look older and outdated. Solution: Just fill in the empty gap areas, mimic your real hairs by creating little baby strokes of “hair” streaks to fill in any empty areas.
Summary
Brows bring balance and symmetry to the face, so we want to not only make sure they look good, but help draw attention to our beautiful eyes!
When in doubt, try a few different brow products, styles, and techniques till there is one that you and your friends love!
Frequently Asked Questions
You can fill in missing eyebrow hair using a brow pencil, powder, brow gel, brow pen, or microblading. Start with a very thin angled brow brush or sharpened brow applicator so that you can mimic the brow hair strokes when filling in the gaps!
You can shape your brows at home with makeup by outlining, choosing your eyebrow color, filling in sparse areas, using a light hand, blending with a spoolie, and sealing it with brow gel for a lasting hold. Remember to avoid over plucking or tweezing. Mimic the natural growth of your eyebrow hairs by starting at the bottom near the roots of your hair and moving upward to fill in sparse spots and create fullness and definition.
Brow products come in different types, each offering a unique way to transform your eyebrows. From soft, natural definition with pencils to precise, hair-like strokes with pens, there’s a product for every desired look. An eyebrow brush, spatula, and spoolie are the perfect tools to finish off your flawless brow transformation!
To choose the right brow color, you should match it to your hair color and skin tone – warm undertones match warm tones, and cool undertones match cool tones! It’s all about finding the perfect match for a stunning look!

